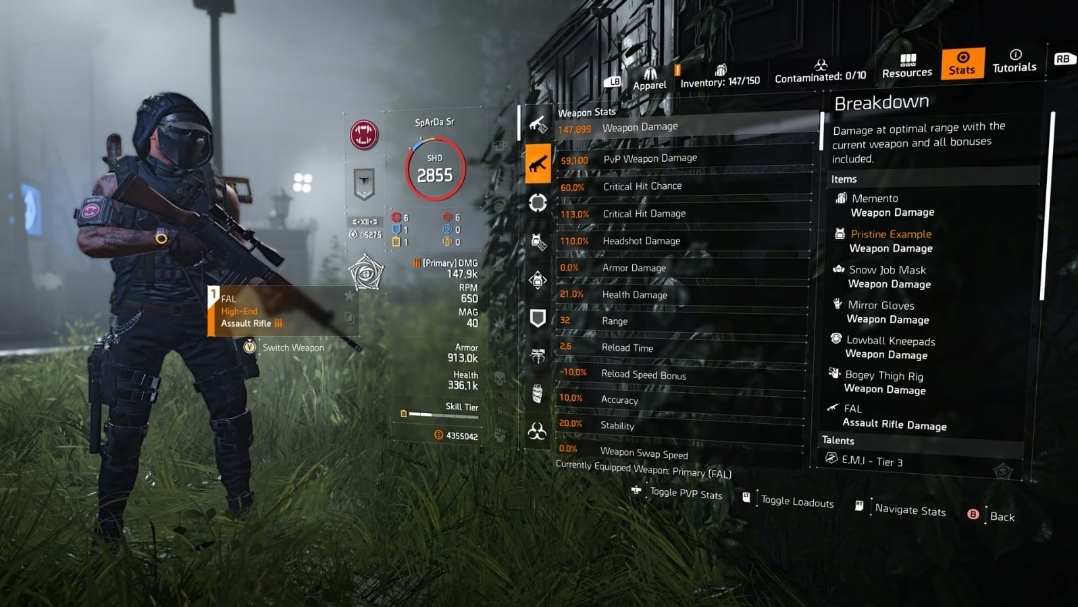
Damage output explained
The game calculates damage output per bullet based on the formula below. This is only intended to help you understand how the damage is calculated.
Firstly the game calculates “Total Damage” which will be the minimum bullet damage for the weapon in question.
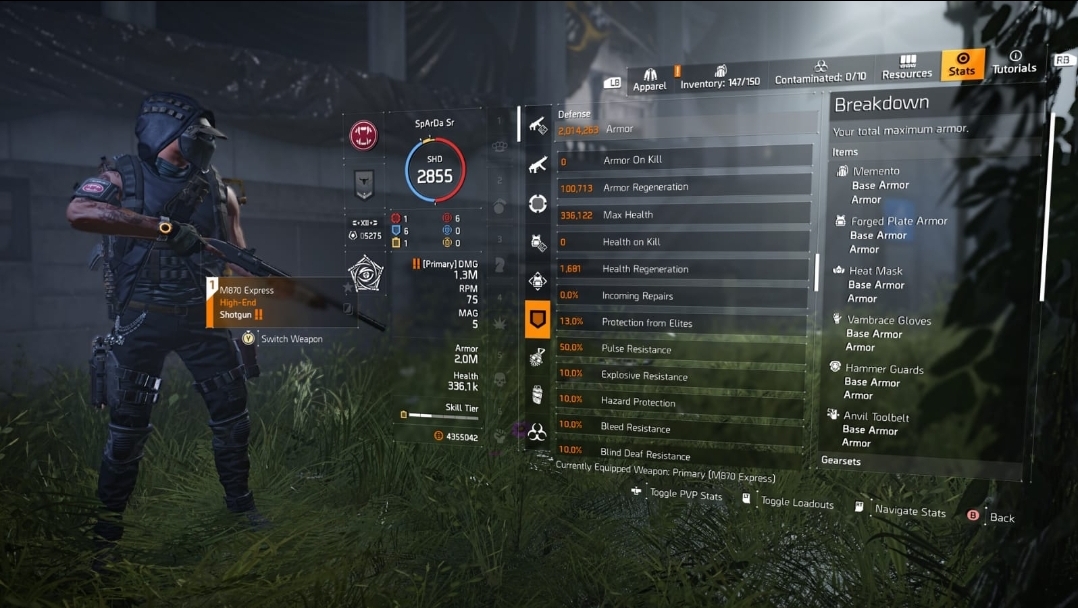
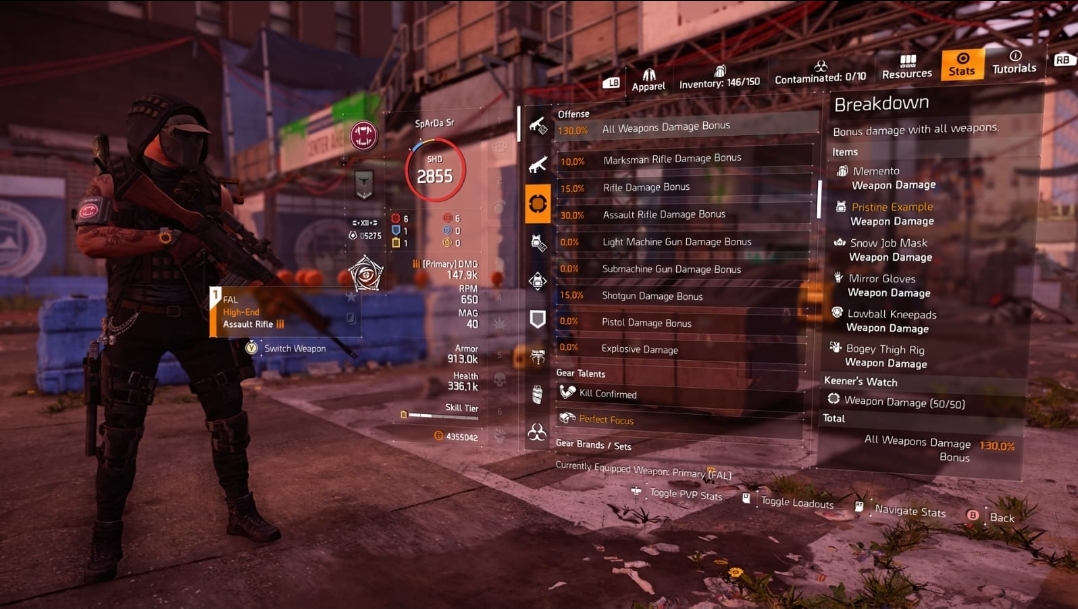
Total Damage = Base weapon Damage * (1+Weapon Damage+Weapon Type Damage+Weapon Damage Talents).
- M1A Base damage is 205,400.
- Weapon Damage (100% made up of 10% Keeners Watch, 90% from Main Attributes on gear)
- Weapon Type Damage (40% made up of 15% on Rifle, 15% from specialisation allocation, 10% from Brand bonus)
205,400 * (1+100%+40%); or
205,400 *(1+1.4); or
205,400 * 2.4 = 492,960 (“Total Damage”)
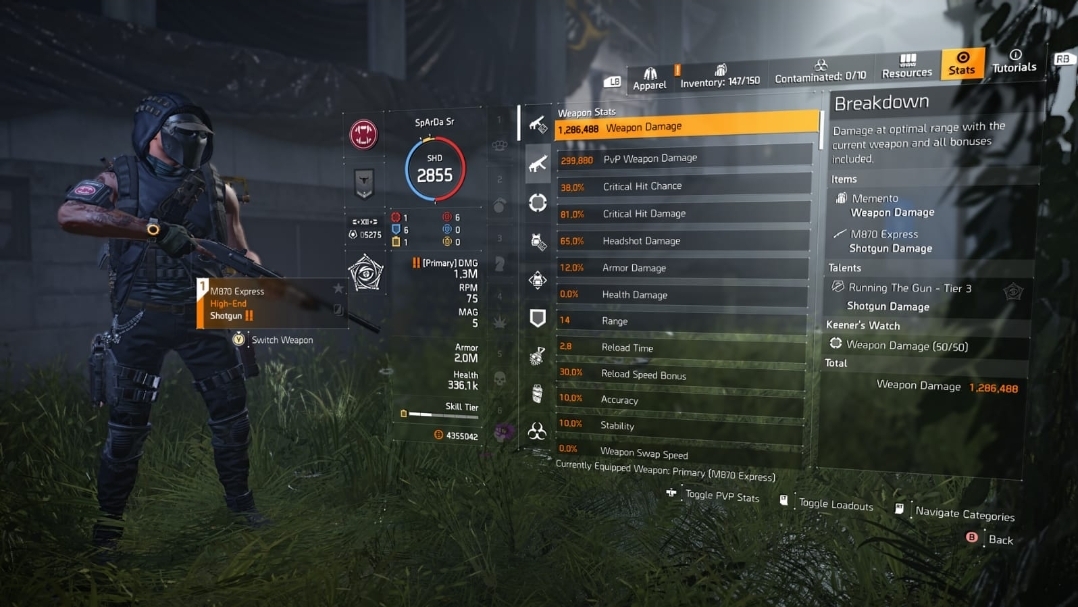
Damage Output Formula
Total Damage
*(1+Total Weapon Damage Talents) [Vigilance]
*(1+Amplfied Talent 1)
*(1+Amplfied Talent 2)
*(1+Amplfied Talent 3)
*(1+Critical Hit Damage+Headshot Damage)
*(1+Damage to Armor+Damage to Health)
*(1+Damage out of Cover)
List of Builds
- SCUD MAG’s Eclipse Damage
- SpArDa Super Tank
- SpArDa Legendary Dilemma (solo)
- Basic DPS (Dark Hours & Iron Horse)
- Drone Build (Specialised role: Dark Hours Razorback)
- FI Support (Dark Hours & Iron Horse)
- Sandforge Damage Hazard Tank (Specialised role: Iron Horse Fieser)
- Sandforge Hazard Tank (Iron Horse)
- Crowd Control (Iron Horse)
- Key Tank (Iron Horse)
- DPS: Focus
- DPS: Intimidate
- DPS: Striker) (Specialised role: Iron Horse)
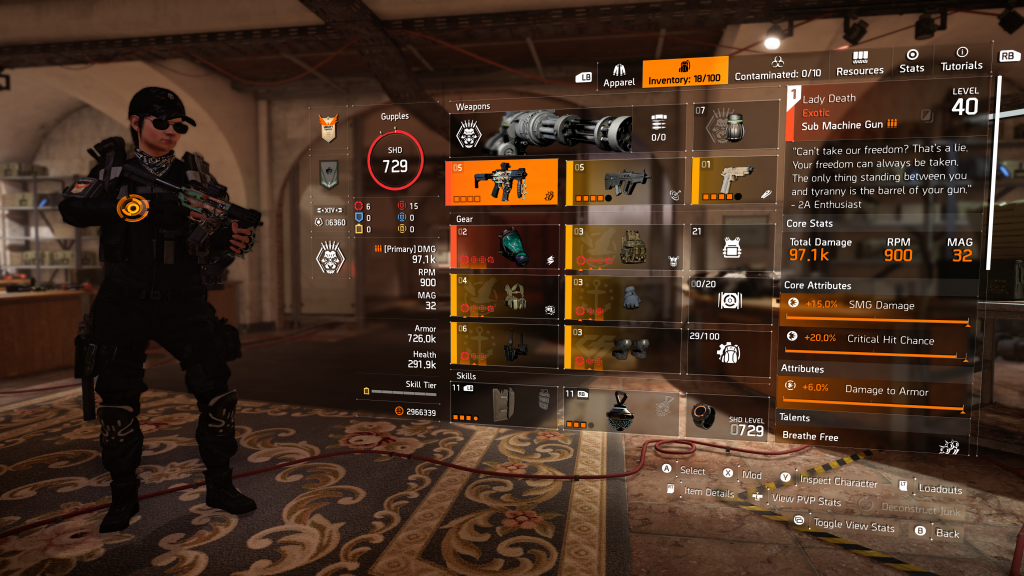
- TU10: Gupples Ladydeath
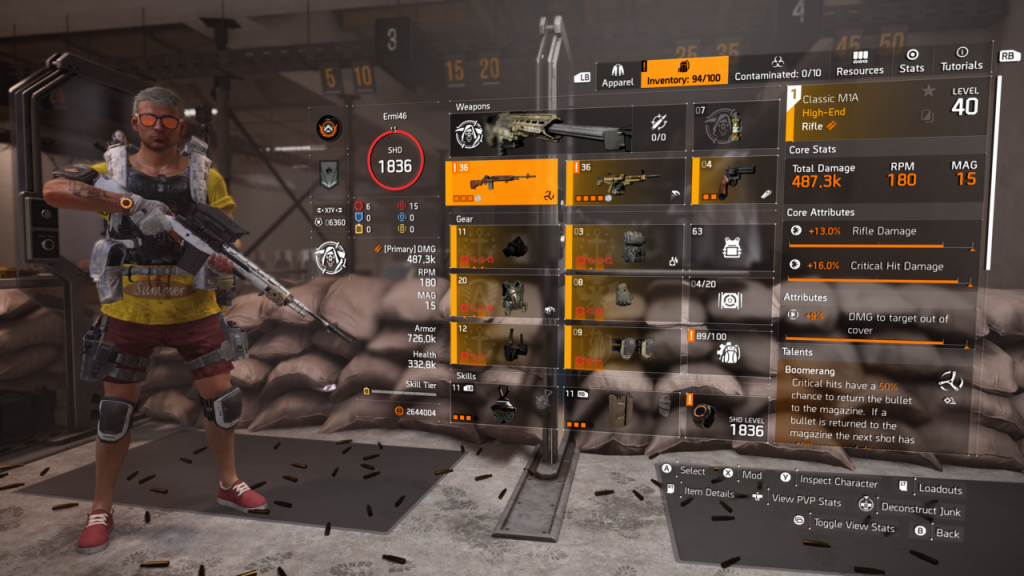
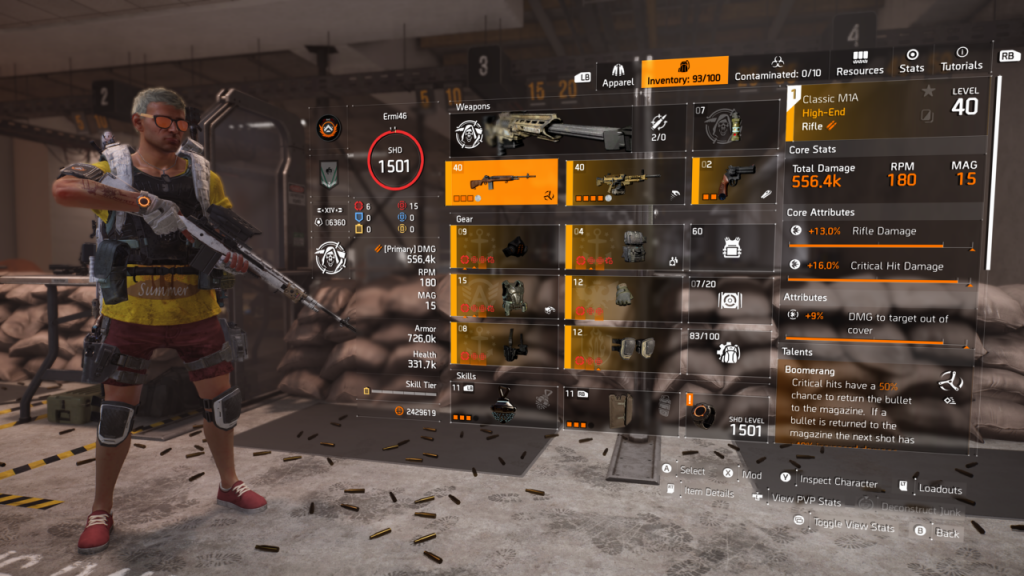
- Ermi46: DPS Build
- Ermi46: Tank Build
Submit your Build
SCUD MAG’S Eclipse Damage
| Gear Setup | 4x Eclipse (mask, gloves, holster & knees), 2x Golan (Chest & Backpack) Talents: Chest Trauma, Backpack: Wicked |
| Attributes | Weapon Damage X4 (All on Eclipse pieces), 2x Armor on Golan. Crit Chance & Crit Damage as the minor attributes. |
| Weapons | Main: Scorpio Others: anything with vindictive / perpetuation (personally prefer a FAL/FAMAS) |
| Specialisation & Skills | Survivalist (fire grenades & damage to status affected targets) 1. Shock Trap 2. Shield |
| Notes | With backpack can switch between anarchist cookbook or creeping death depending on what floats your boat Ideal on legendary summit etc for slowing rushers or funneling at doorways, kill a red spread the status start the tidal wave of death and destruction. SCUD BUILT IT, NUFF SAID! |
| Videos | https://twitter.com/Tannockwafer/status/1439376339258257410?s=19 |
SpArDa Super Tank
| Gear Setup | 4x Foundry Bulwark (mask, holster, knees & chest), Belstone Armoury (gloves), Memento backpack Talents: Chest Foundary Bulwark, Backpack: Memento |
| Attributes | Armor X5 (Total 6 blue 2 yellow 1 red). Crit Chance & Crit Damage X1 13% Protection from Elites, X2 20% Repair Skills |
| Weapons | Main: Liberty Pistol Others: M870 Shotgun -In Sync & Police M4 assault rifle -Strained |
| Specialisation & Skills | Technician 1. Artificer Hive 2. Bulwark Ballistic Shield |
| Notes | Survivability and Damage Resistance. Typical Tank build made to focus aggro from enemies whilst group players can use DPS or Skill builds without taking too many hits. Foundry Bulwark 4 piece offers makeshift repairs; when you or your shield take damage, 20% of it is repaired to both over 20 seconds. I utilise the chest piece here, improving makeshift repairs from 20% to 30%. This coupled with the Artificer Hive buff, repairs the shield enough to face tank any enemy FTW 1v1. The Artificer repairs the shield almost fully every 10 seconds (ish). Additionally, the Liberty pistol talent ‘Liberty or Death’ stacks up to 30 times with enemy hits, also increasing pistol damage by +2% every hit. Headshots consume the stacks and repair the shield by 3% per stack. With 30% Makeshift Repairs, the Artificer Hive buffs and the last resort fallback of the Liberty buffs the shield is (almost) invulnerable! Just make sure to utilise the Liberty buffs correctly to further repair the shield when realistically needed. Once Memento is fully stacked and the Liberty talent is maxed, the pistol can dispose of any enemy pretty easily, making the build more than just a tank. Memento gives 3% armour regeneration too, this plus 2% more from the Foundry and Belstone pieces gives 5% (/100k+) armour regen, making you ridiculously resistant to enemy attacks. |
| Videos | https://youtu.be/MzkAkKyVST0 |

SpArDa Legendary Dilemma (solo)
| Gear Setup | 4x Negotiator’s Dilemma (mask, holster, gloves & knees) Memento backpack Airaldi Pristine example Chest (perfect focus) Talents: Chest: Perfect Focus, Backpack: Memento |
| Attributes | Weapon Damage x5 / Crit Chance & Crit Damage. As close to 60% critical hit chance, then focus on critical hit damage. Gear Mods: Crit Chance/Damage x3 |
| Weapons | Primary: FAL AR (In Sync and damage out of cover) Secondary: M1A (In Sync and damage out of cover) Sidearm: TDI custom KARD (+1 skill tier) |
| Specialisation & Skills | Technician Turret/decoy (tier 2) 2. Crusader shield (tier 3) |
| Notes | DPS, armour regeneration & skill efficiency. ND works by marking enemies with critical hits. Mark up to 3 with this build, causing each of them damage. Focus with an M1A is accurate at all times but with an AR it can recoil too much for someone with a poor aim like me. So, I choose the FAL. It’s stability and accuracy is vital for me when taking on the wave hordes in legendary missions. Minimum X8 scope needed to proc focus talent. Personally X8 for AR and X12 for M1A. Once all stacks are maxed weapons hit way harder (around 18k), skills become buffed with efficiency and armour is regenerated by 27.5k. (Memento is still awesome even since it’s recent nerf). AR – In sync M1A – Rifleman Turret keeps in sync proc and can take (some) aggro. Shield is tier 3 (tier 4 with TDI KARD sidearm) Utilise EMP grenades |
DPS
This DPS build is a basic minimum requirement DPS build that will work on both Iron Horse and Dark Hours raids.
| Gear Setup | 3x Providence, 1x Ceska/Grupo, 1x Contractors Gloves, 1x Foxes Prayer Talents: Chest: Focus/Glass Cannon/Obliterate, Backpack: Vigilance/Companion/Composure |
| Atrributes | Weapon Damage x6 / Crit Chance & Crit Damage > Headshot Damage/Weapon Handling Gear Mods: Crit Damage x3 |
| Weapons | Primary: M1A (Boomerang and Damage out of Cover) Secondary: Scorpio/Any Assault Rifle (Damage out of cover with Strained, Optimist or Ranger) |
| Specialisation & Skills | Sharpshooter/Demolitionist/Gunner Revive Hive / Turret, Decoy or Drone |
| Notes | Aim for around 50 Crit Chance and as much Crit Damage as possible. |
Drone build
This unique drone build is a specialty build for Dark Hours on Razorback. It’s sole use is to take care of drones.
| Gear Setup | 4x Hard Wired, 1x Wyvern, 1x BTSU Talents: Chest: Glass Cannon, Backpack: Hard Wired |
| Atrributes | Skill Tier 6 / Skill Damage & Skill Haste Gear Mods: Skill Haste or Repair Skills x3 |
| Weapons | Primary: Capacitor Secondary: .. |
| Specialisation & Skills | Sharpshooter EMP Jammer / Revive Hive |
| Notes | Drone build likely to be on one of the gens. Shoot crossbow/ use jammer. Then drop revive hive to refresh EMP Jammer. This lets you get the 2nd round of drones. pickup hive and drop again as required. |
FI Support Healer
FI Support role is similar to FI Healer, but provides a further team buff by utilising Opportunistic
| Gear Setup | 4x Future Initiative / BTSU Gloves / 1x Alps Talents: Chest: FI Ground Control, Backpack: Opportunistic |
| Attributes | Skill Tier 6 / Repair Skills or Skill Haste Gear mods: Repair Skills x3 or Skill Haste x3 |
| Weapons | Primary: Scorpio Secondary: Any MMR |
| Specialisation &Skills | Survivalist Healing Hive / Foam Chem Launcher |
| Notes | Chem Launcher should heal for 800k which will exceed DPS max armor. On a Cautious run of either raid overcharge should be used sparingly to get hives back. On an aggressive run it should be used to cause huge damage to bosses in the kill phase. |
Sandforge Damage Tank
This build is primarily used to stop Fiesers instakill in forge 2, whilst maintaining enough Armor to survive. Buffs added to team via demo & opportunistic.
| Gear Setup | 2x Golan (one must be Hunter Killer Chest) / 1x Gila Nightwatcher / 1x Badger Tuff / 1x Foxes Prayer / 1x Belstone Talents: Chest: Perfect Intimidate, Backpack: Opportunistic |
| Attributes | Armor x5, Weapon Damage x1 / Hazard Protection > Armor Regen – 94%+ Burn Resistance Gear mods: Burn Resistance x3 |
| Weapons | Primary: Ravenous Secondary: SIX12 (Optimist) |
| Specialisation & Skills | Demolitionist Pulse / Revive Hive |
| Notes | With Nightwatcher Tank will pulse spam throughout the encounter. Revive hive there as a backup incase agent dies. |
Sandforge Hazard Tank
This build is primarily used to survive in the forge in a more cautious run, where the tanks sole purpose is to read numbers, occupy the boss and prevent the window breaking.
| Gear Setup | 3x Golan / 1x Gila / 1x Belstone / 1 Murakami Emporors Guard (or Tardigrade) Talents: Chest: Unbreakable (Or Tardigrade), Backpack: Adrenaline Rush |
| Attributes | Armor x6 / Hazard Protection > Armor Regen – 94%+ Burn Resistance Gear mods: Burn Resistance x3 |
| Weapons | Primary: Ravenous (gives extra bonus armor, can be procced on train) Secondary: .. |
| Specialisation & Skills | Demolitionist Repair Drone / Revive Hive |
| Notes | Aim for 94% Burn protection. Revive hive as a safety net incaase the power out and you are unable to get out for fiesers instakill. |
Crowd Control
The CC can be utilised on Lieutenant Williams, and is effective in controlling the majority of ads as well as Williams.
| Gear Setup | 4x Eclipse Protocol / 1x Golan / Vile Mask or Acosta’s Go-bag Talents: Chest: Indirect Transmission, Backpack: Opportunistic (Golan), or Acosta Exotic |
| Attributes | Skill Tier 6 / Status Effect > Skill Haste Gear mods: Skill Haste x3 |
| Weapons | Primary: Scorpio Secondary: Any MMR |
| Specialisation & Skills | Survivalist Foam Chem Launcher / EMP Jammer or Shock Trap |
| Notes | Foam chem launcher will stick enemies to make them easier to kill. EMP Jammer adds a status effect buffing everyones damage and will disrupt Williams Seekers. |
Key Tank
Key Tank is used on boss 4, with the priority to pickup keys and act as a second healer by providing Vanguard to the team.
| Gear Setup | .. Talents: Chest: .., Backpack: .. |
| Attributes | Armor x 6 Weapon Damage x 6 Skill Tier 6 / Attribute 1 or Attribute 2 Gear mods: Mod1 x3 or Mod2 x3 |
| Weapons | Primary: .. Secondary: .. |
| Specialisation & Skills | Technician/Firewall |
| Notes |
DPS: Focus
Focus Build is one of the hardest hitting builds available. Can be used on most bosses but a must for Boss 1.
| Gear Setup | 3x Providence / 1x Airaldi (Pristine Example) / 1x Contractors Gloves / 1x Foxes Prayer Talents: Chest: Focus (Pristine Example for Perfect Focus), Backpack: (Vigilance) |
| Attributes | Weapon Damage x6 / Aim for 50% CHC, spec rest into CHD and HSD Gear mods: Critical Hit Damage x3 or Headshot Damage x3 |
| Weapons | Primary: M1A with Rifleman for headshots on Boss 1+2 / M1A with Boomerang Secondary: AR as a Utility – Famas/Police M4/Carbine 7 |
| Specialisation & Skills | Sharpshooter (unless your role is buffing the team) Varys per boss and role – Decoy / Foam Launcher / Shock Trap / Booster Hive |
| Notes | Focus build works very well with most bosses, but is best on Boss 1 with rifleman. As Boss 1 will be held in place, headshots are easy to land and damage stacks up very quickly. If you don’t have a perfect focus chest, a providence chest piece can be worn instead. Another variation of the build is running 1 less Providence and having the dodge city holster with the regulus -which is very effective for ad control on boss 2. |
DPS: Intimidate
Intimidate Build is an up close & personal build, best used for ad control on boss 2&4 at the doors – lacking damage from a distance.
| Gear Setup | 1x Foxes Prayer / 1x Contractors / 3x Providece / 1x Walker Harris (Matador backpack) Talents: Chest: Intimidate, Backpack: Perfect Adrenaline Rush |
| Attributes | Weapon Damage x6 / Aim for 50% Crit Chance, then prioritise Crit Damage Gear mods: Crit Damage x3 |
| Weapons | Primary: M1A with Boomerang Secondary: AR or Shotgun as a Utility |
| Specialisation & Skills | Personal preference (unless your role is buffing the team) Varys per boss and role – Decoy / Foam Launcher / Shock Trap / Booster Hive |
| Notes |
DPS: Striker (Bullet Build)
Striker Build primarily used for providing excess damage to the Bullet on boss 4.
| Gear Setup | 4x Striker plus 2 of: Foxes Prayer / Hollowman Mask / Contractors Gloves / Chest Piece with Focus / Backpack with Vigilance Talents: Chest: Strikers Gamble / Focus, Backpack: Strikers Gamble / Vigilance |
| Attributes | Weapon Damage x6 / Weapon handling Gear mods: Crit Chance x3 |
| Weapons | Primary: .. Secondary: .. |
| Specialisation & Skills | Gunner: Minigun will rip through the Mortars and add significant damage to the bullet |
| Notes |
TU10: Gupples Ladydeath
This build focuses heavily around building as much of a momentum as you can, the two talents which are essential for this are Obliterate and Unstoppable Force, the reason I chose these is that there are no debuffs for using them unlike glass cannon for example while providing you with a large damage bonus.
| Gear Setup | Coyotes mask, 2x Sokolov, 1x Grupo and 2x Providence Talents: Chest: Obliterate, Backpack: Unstoppable Force |
| Attributes | Weapon Damage x6 / Headshot Damage & Crit Damage Gear mods: Headshot Damage x3 or Crit Damage x3 |
| Weapons | Primary: Lady Death Secondary: should be something accurate for taking out snipers you can’t reach, I prefer the Railsplitter assault rifle as it has pinpoint accuracy and a high fire rate. |
| Specialisation & Skills | Gunner Crusader Shield / Revive Hive |
| Notes | The most effective way to use this build is to be constantly moving to generate stacks for the lady death, getting in close and using the shield when you need a bit more of a armour boost to face tank npc’s. Should you need to get into cover if your shield breaks, it’s best you shuffle left and right as that will still allow you to build lady death stacks in cover. You will always try to aim for headshots when possible, and hitting weakpoints as well depending on the faction you are fighting picking off snipers with your secondary. |

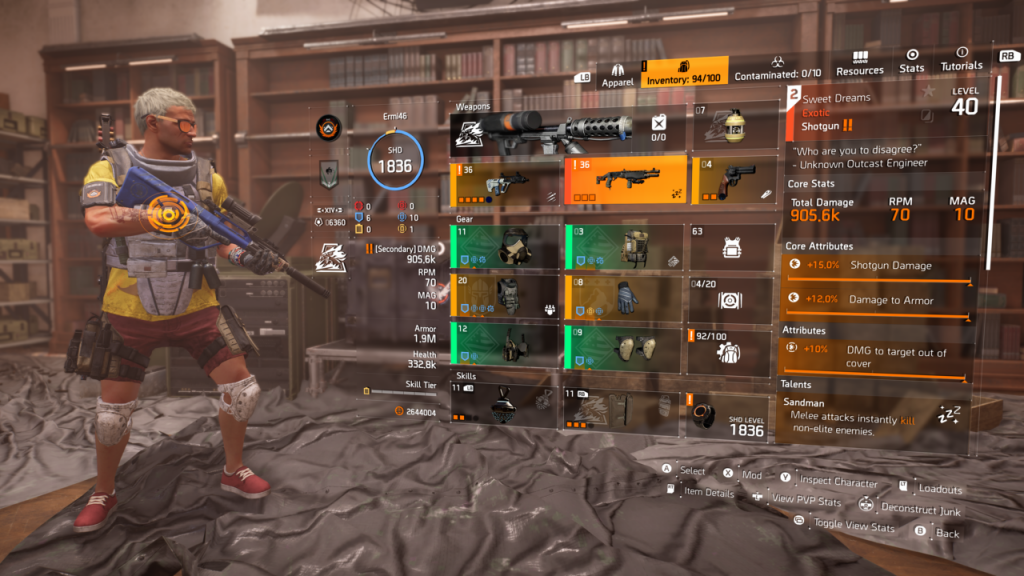
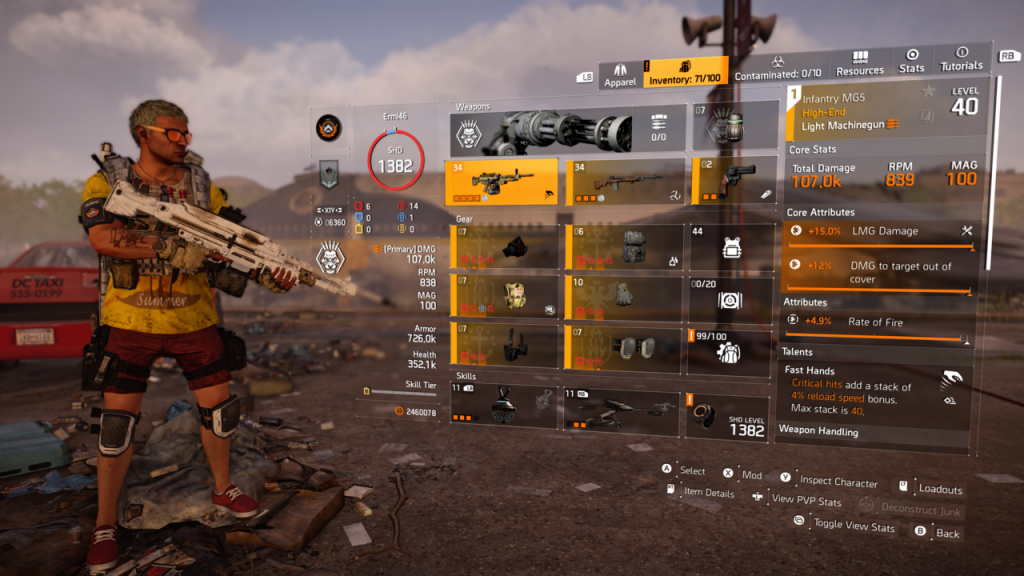
Ermi46: DPS Build
Ermi’s Perfect Focus build.
| Gear Setup | Pristine Example, Contractors Gloves, Foxes Prayer, 3x Providence Talents: Chest: Perfect Focus, Backpack: Perfect Vigilance |
| Attributes | Weapon Damage x6 / Crit Chance (around 50%) and Crit Damage Gear mods: Crit Damage or Headshot Damage |
| Weapons | Primary: Classic M1A (Boomerang) Secondary: AR for rushers |
| Specialisation & Skills | Sharpshooter (use digital scope on weapons) Shield / |
| Notes | – Hold/push the left trigger as often as possible. If you reload and still hold the aim the buff won’t lose. If you get back to cover, and then aim in 1s, then you won’t lose the buff. Thats why I use shield, so I won’t lose the stack and vigilance when npcs shoot me) – Sometimes slower headshots worth it. – (“It’s easy: aim and pull the fucking trigger!” – Dolores Jones) – If someone uses Coyote’s Mask in the group, then ~50% chc is more than enough. |
Ermi46: Tank Build
Ermi’s True Patriot tank build.
| Gear Setup | 4x True Patriots (mask, backpack, holster, kneepad), 1x Pointman, 1x Motherly Love Gloves Talents: Chest: Perfect Vanguard, Backpack: True Patriot |
| Attributes | Armor x6 / Hazard protection and Explosive resistance Gear mods: 3x Protection from Elites |
| Weapons | Primary: Any AR/SMG for flagging memories Secondary: Sweetdreams for melee red/purples |
| Specialisation & Skills | Firewall (shield & mods) Firewall Shield / |
| Notes | – Watch teammates armor and vanguard cooldown, use that talent for armor boost as often as possible (in specific cases unequip, then equip the shield) – If possible melee with sweet dreams (red, purple) – On higher difficulties you won’t make much dmg, but shoot as many enemies as you can, so every npc get the debuffs |